Having seen this cool lapel pin made from a PCB, I thought I’d put my newfound PCB design skills to use and make one myself.
I grabbed the logo of one of my favourite artists and booted up EAGLE.

The idea was that the white area would be exposed copper, with black soldermask filling in the gaps. I wasted a few hours trying to import the image into EAGLE as the copper layer, but in the end settled with just tracing it by hand.

Next I duplicated the shape onto the top stopmask layer to indicate where I didn’t want soldermask to be laid down. On the bottom copper layer I added two 5mm diameter circles for the pins to be soldered/glued to and again duplicated the circles onto the bottom stopmask layer to prevent soldermask being applied over them. For an added flourish I took the ‘Perturbator’ text and added it to the bottom silkscreen layer. This time I just used EAGLE’s bitmap importer rather than attempting to trace it. I spent a while tidying the lines but eventually I was ready to send it off for fabrication.
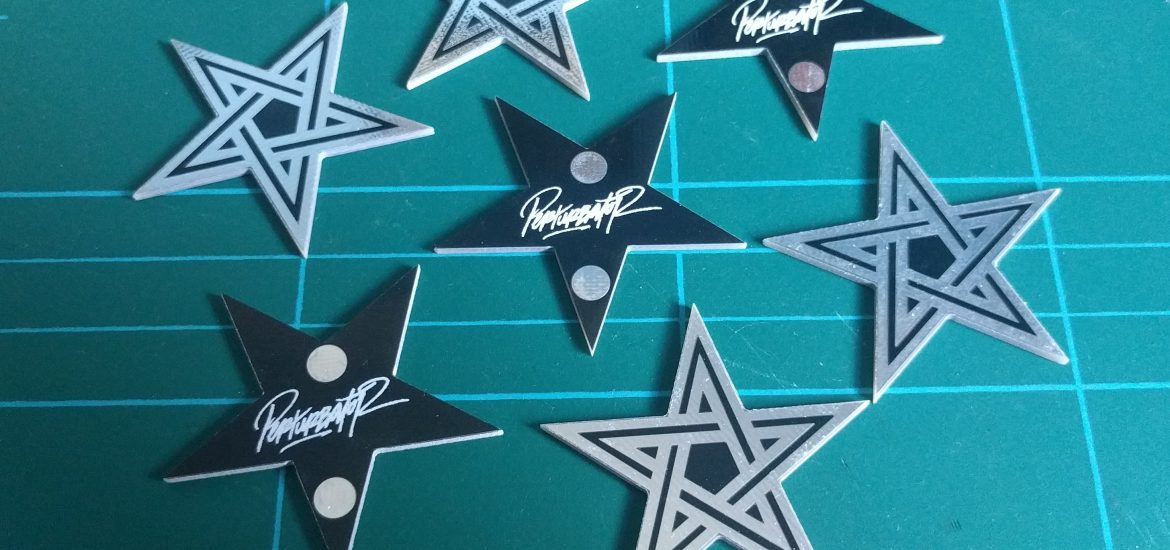
Last time I used Ragworm but as lovely as their orange soldermask is, I really wanted black soldermask for this project. PCBShopper pointed me in the direction of Elecrow who offered 5 boards for about £8 (inc. P&P). Coloured soldermask is free and other than opting for a lead-free HASL (silver) finish rather than ENIG (gold) I stuck with the default options. It took them about 5 working-days to make the boards (with 2 extras thrown in for free) and another 5 for them to make their way from Shenzhen all the way to the UK. Very impressive for the price. Here they are:
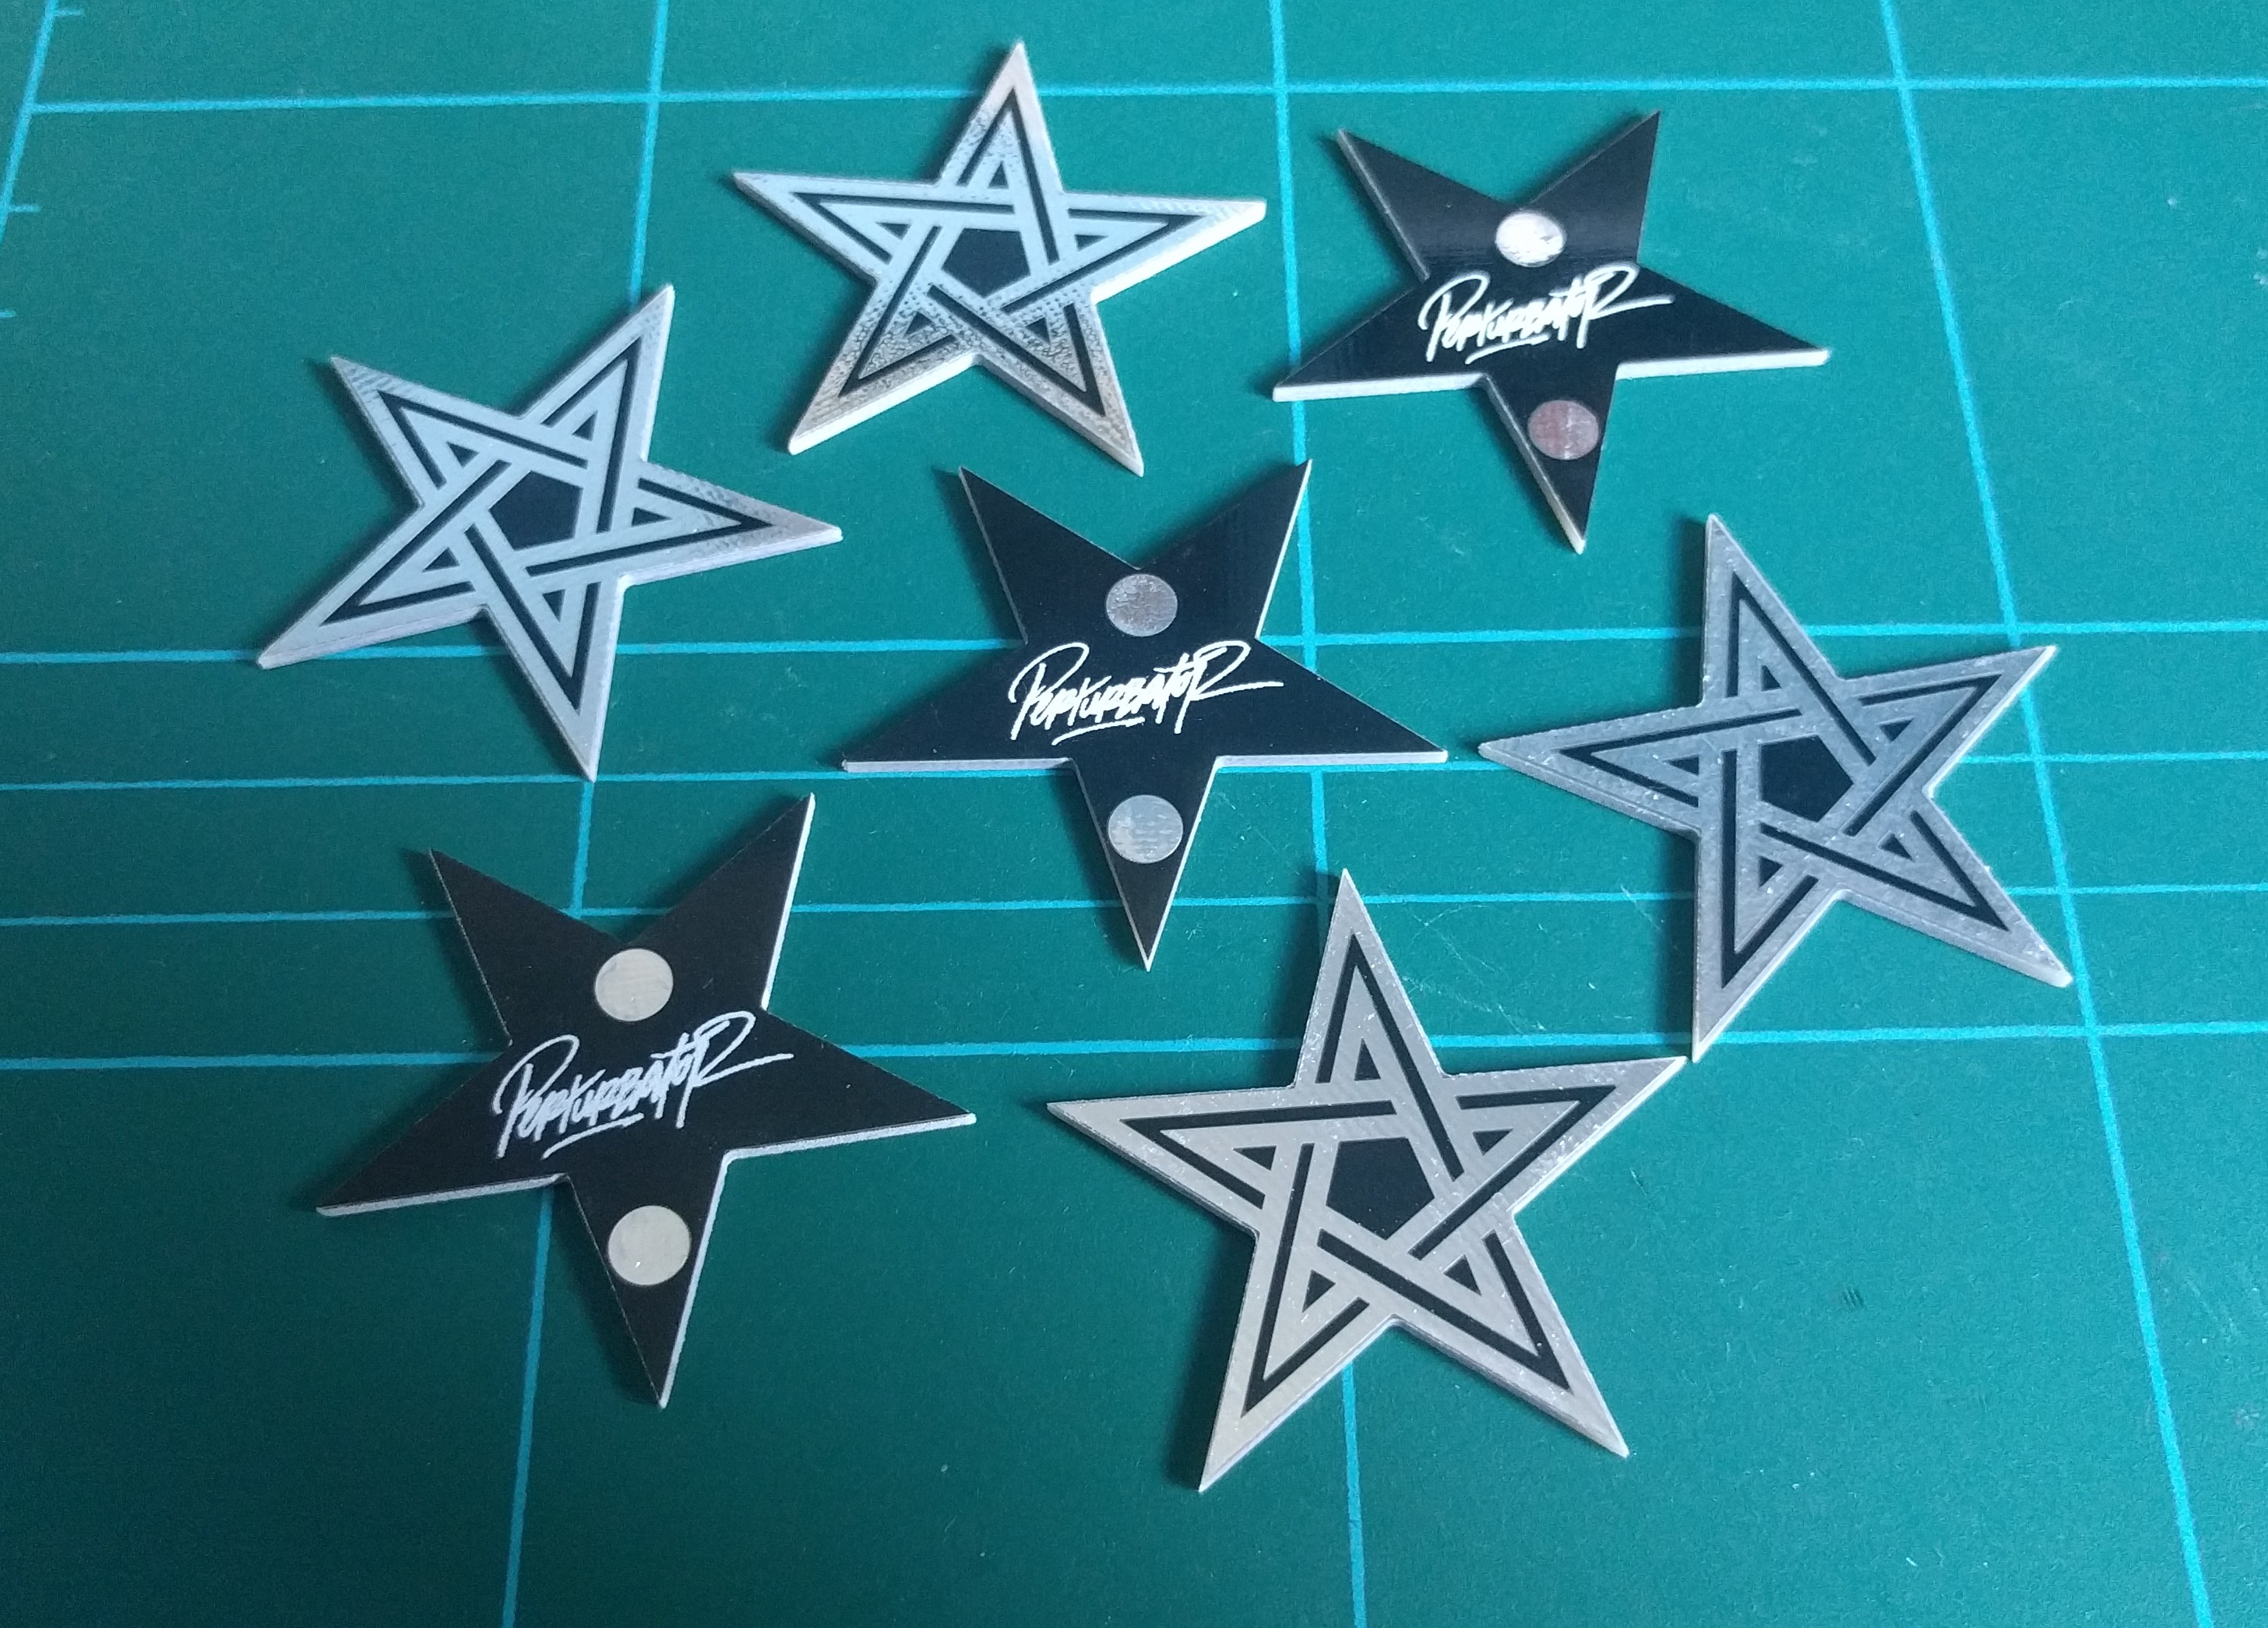
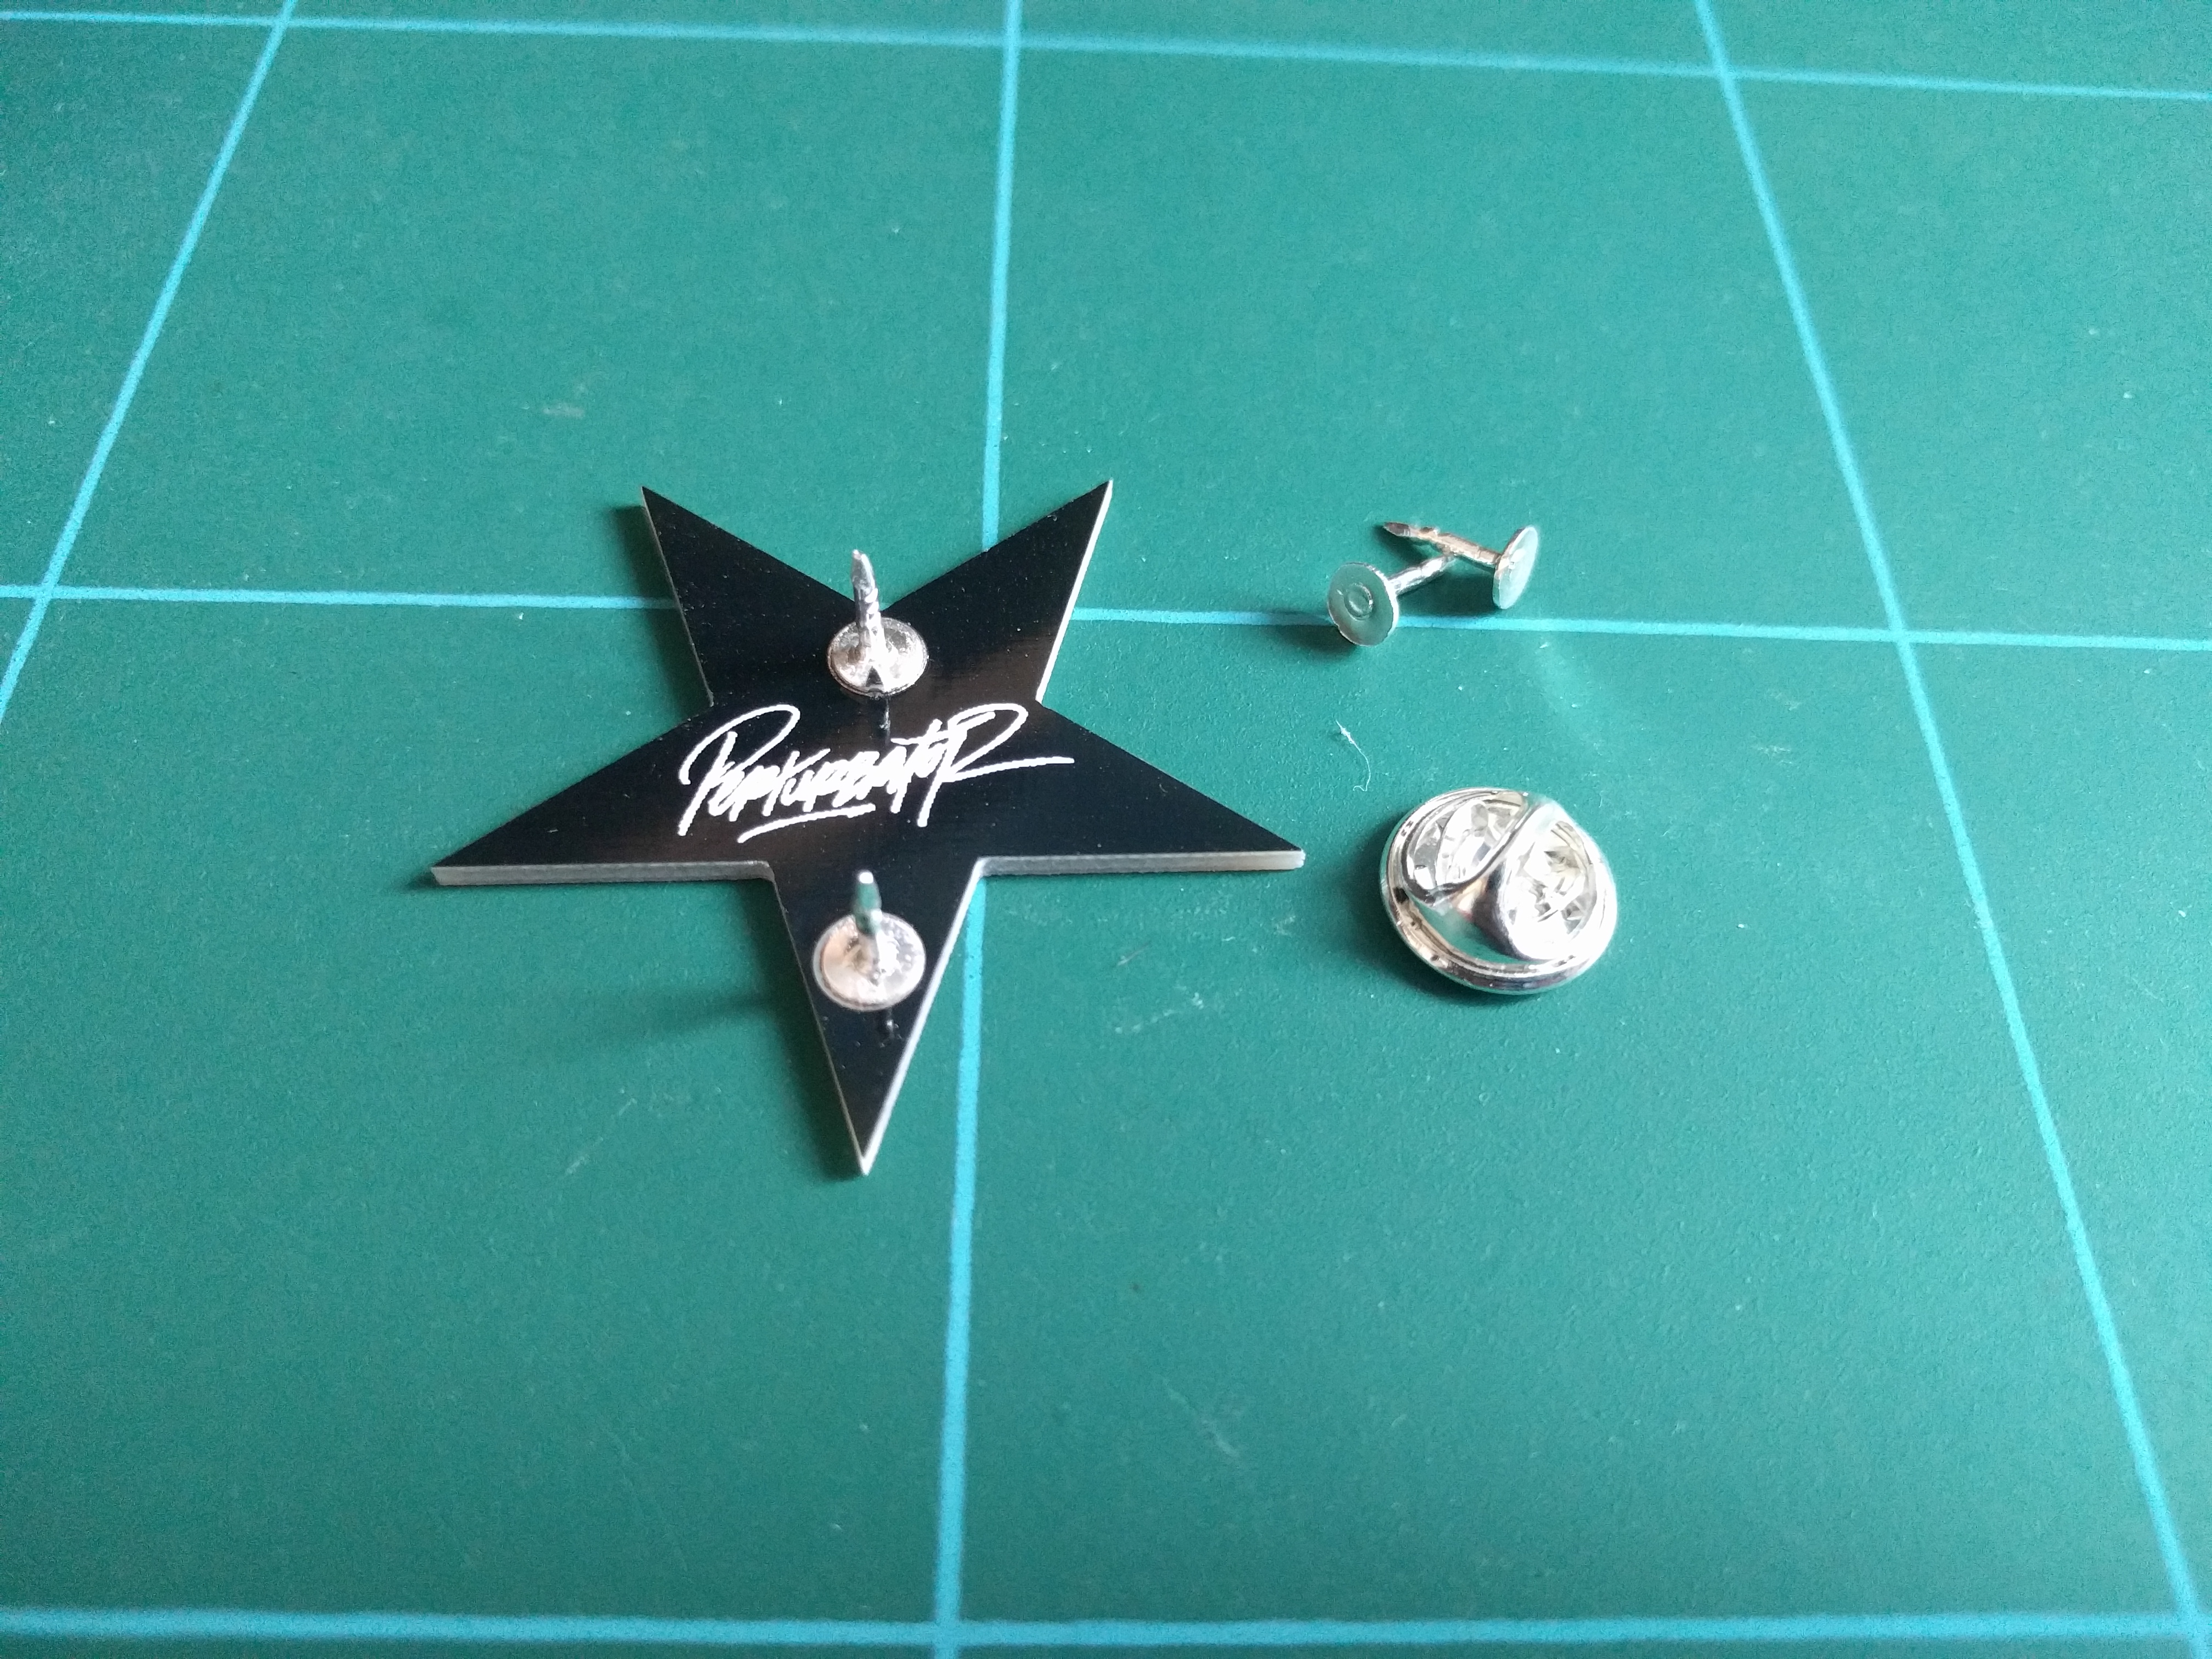
I wasn’t sure how the silkscreen would look but it turned out really well. This was also the first time I’ve used Gerber files, fortunately everything went smoothly. I bought some tie pin backs from ebay and tacked them on with a little superglue.
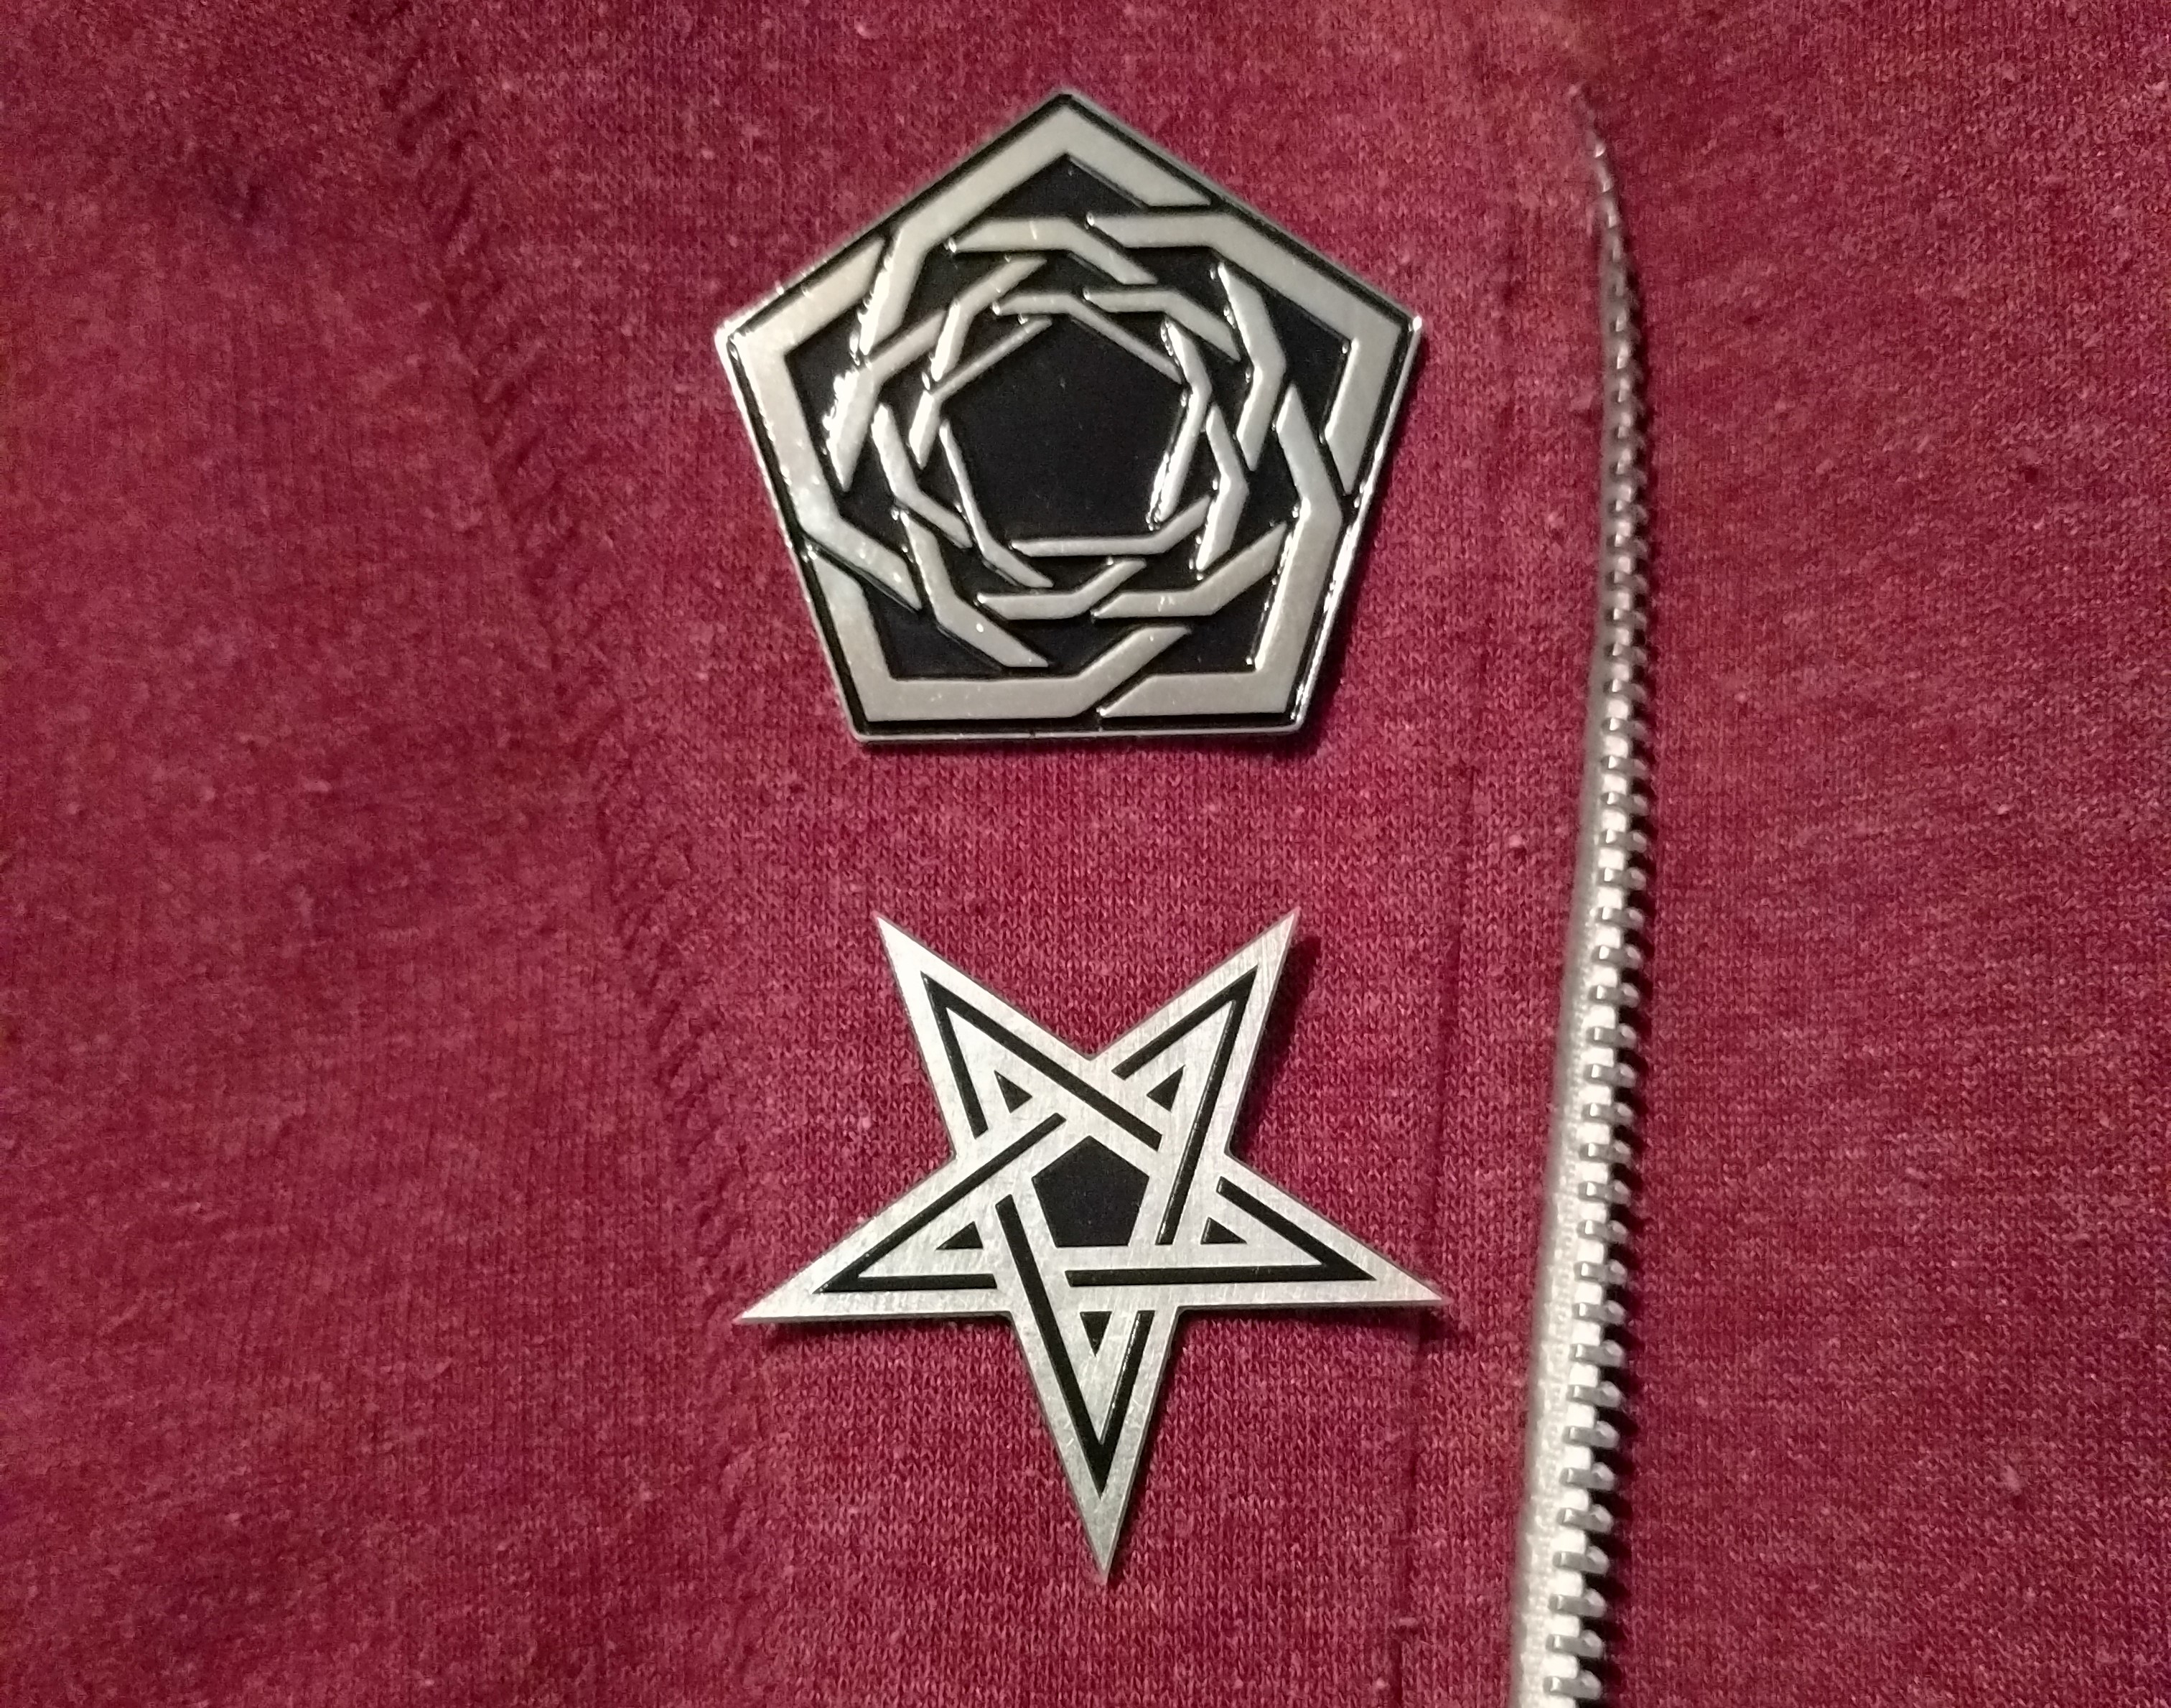
For added durability I gave the fronts & sides a few coats of clear enamel spraypaint and after a few hours of drying they’re all ready for the Perturbator gig later this year! I left one of them uncoated and I’m really interested to see whether it discolours. Here’s one of the finished pins next to my Carpenter Brut pin from CavityColors.