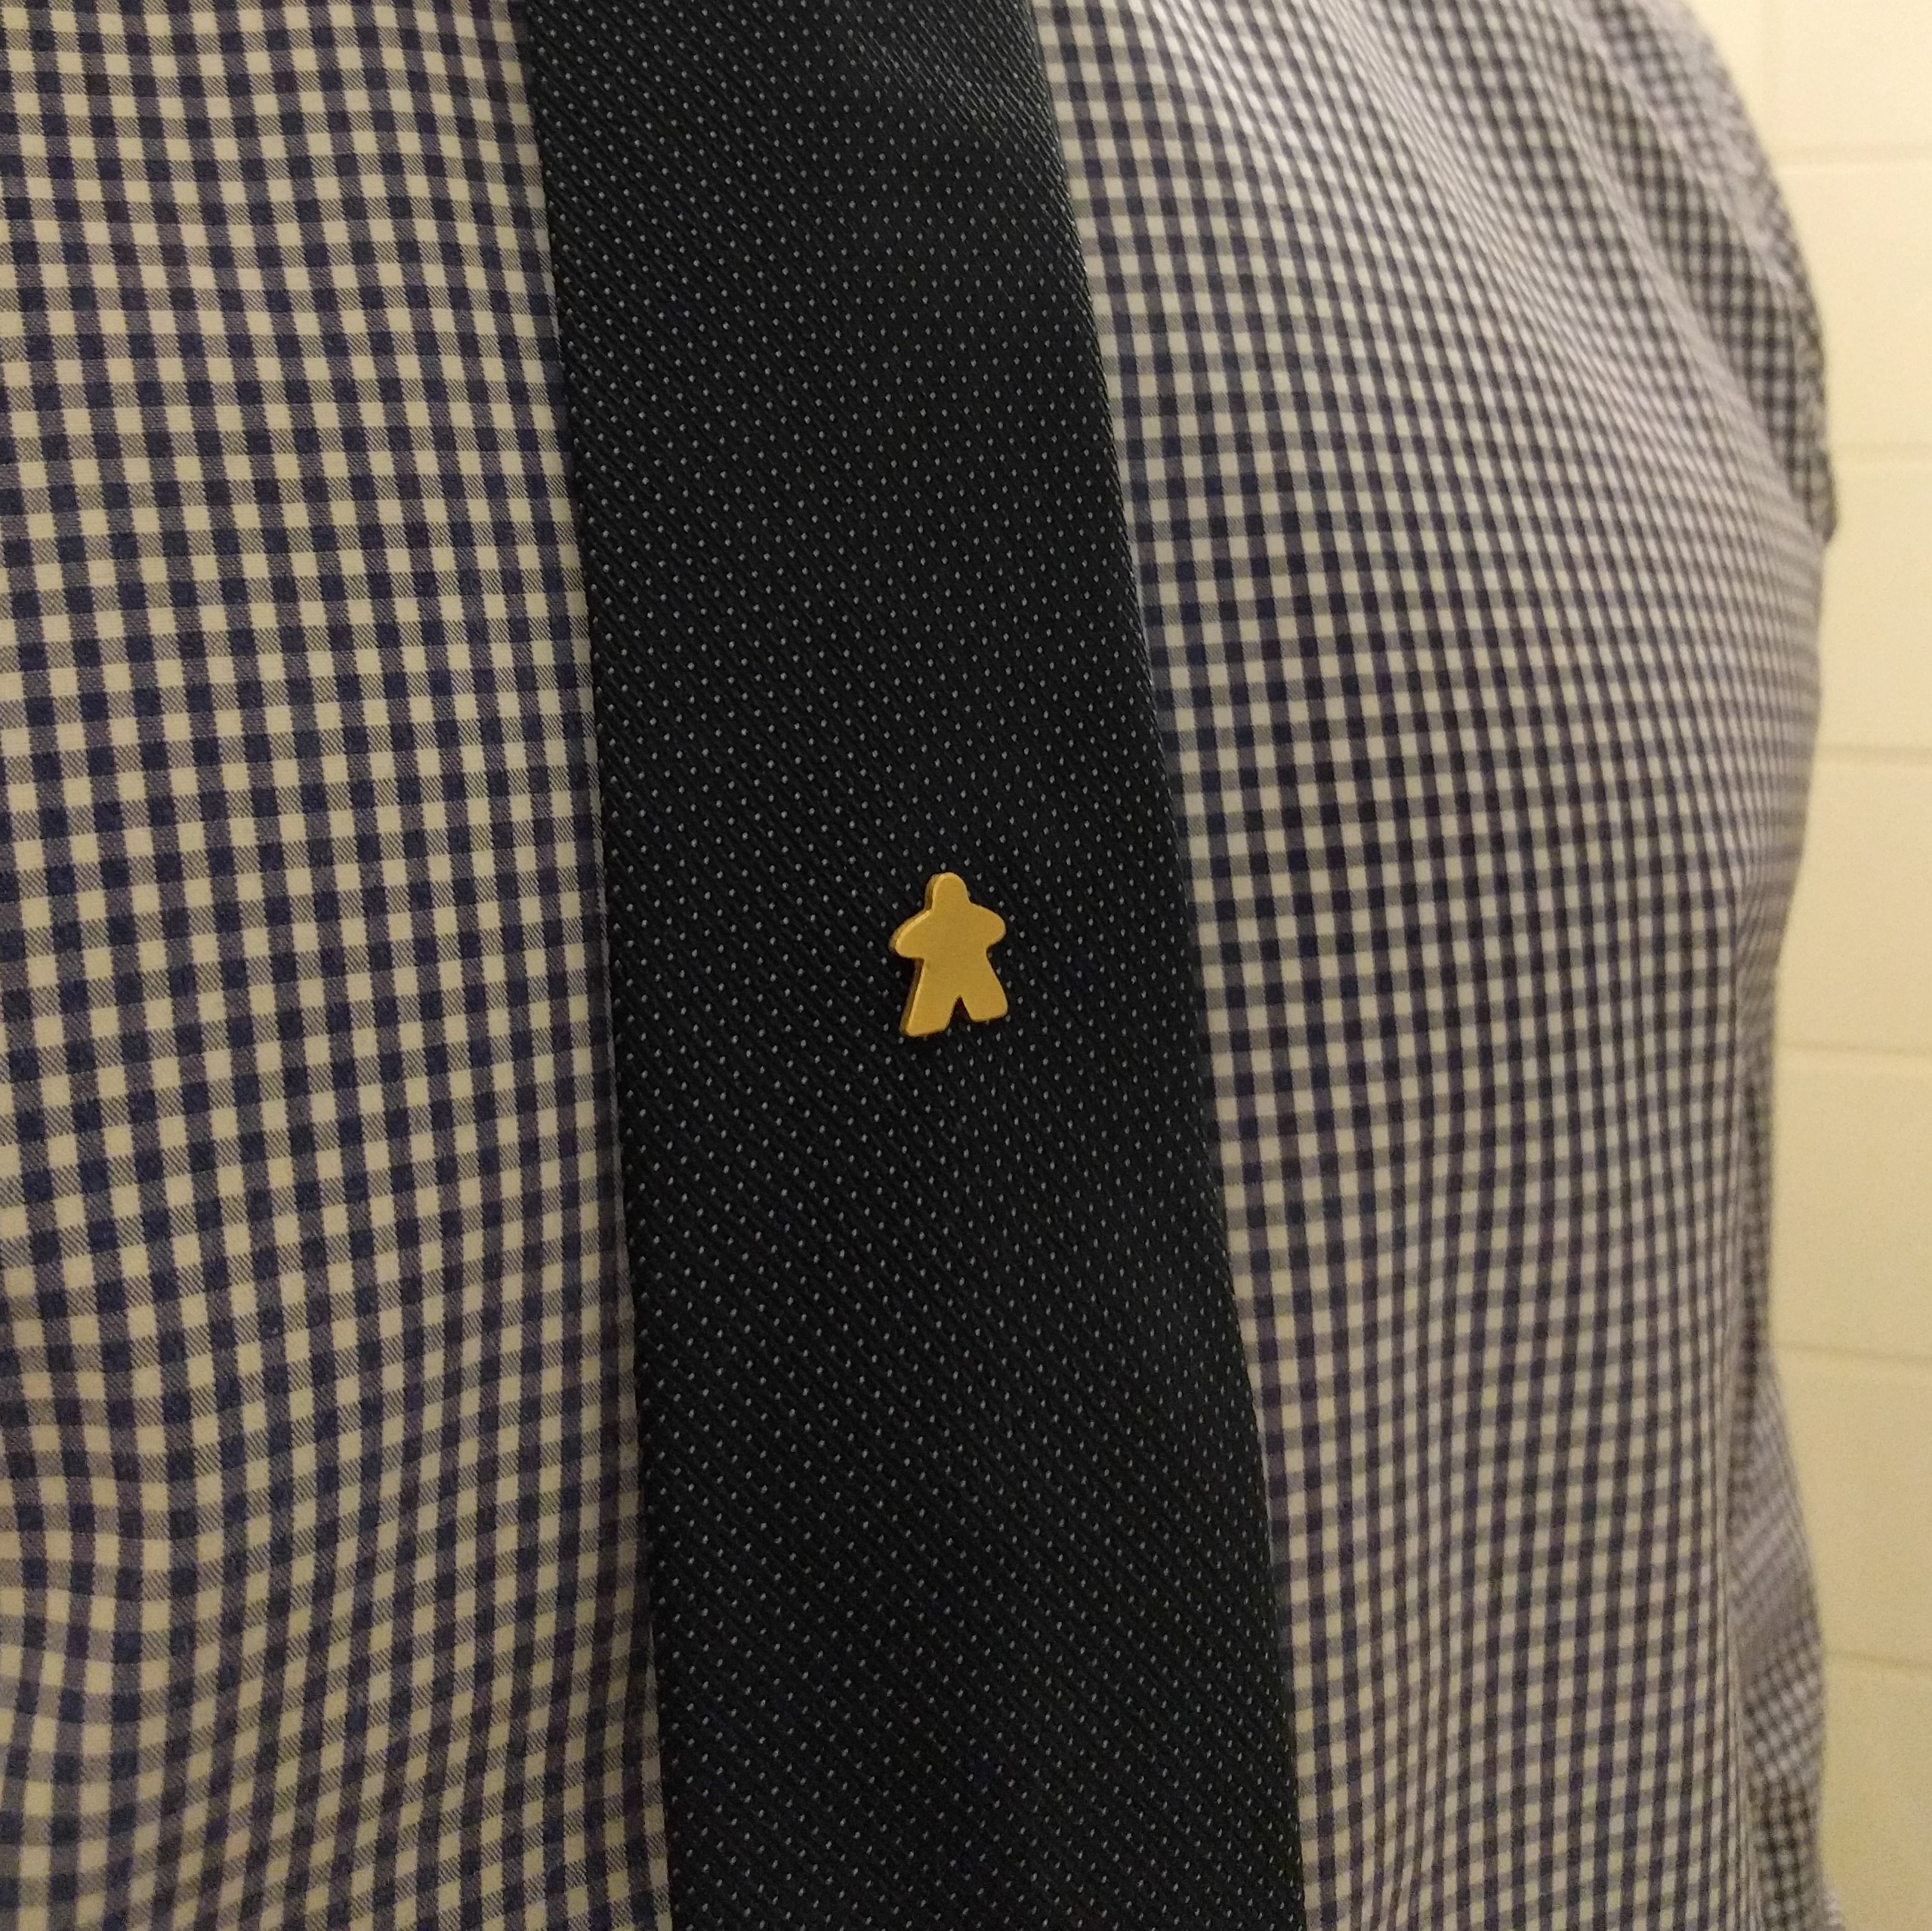
Over Christmas I stumbled across a cute Meeple lapel pin, which I of course bought. While it works well as a tie pin, I’d like something a little closer to the real Meeple size for my coat, so as soon as I got back to my PC I had to try my hand at making a PCB version.
When putting the Perturbator pin badge together I drew most of the lines manually using a template image. This time around I was determined to at least automate some of the process.
A quick Google search found a handy vector drawing of a Meeple in DXF format. With a little bit of fiddling I managed to get the file into a position to be imported directly into the ‘Dimension’ layer of the board layout. I cheated by drawing rough polygons on the ‘Top’ and ‘tStop’ layers to fully expose the copper on the top of the badge.
After seeing how JinGen Lim used the various layers to create different ‘colours’ on his pin badge I was keen to experiment a little further with this one.
With an Eagle plug-in (and a lot more fiddling) I was able to import the DXF file as a polygon. This allowed me to add a tiny Meeple to the ‘bRestrict’ layer that exposes the raw FR4 underneath the copper circle on the bottom of the pin. I’ve also used the ‘bStop’ layer to encroach slightly on the exposed copper layer to add a subtle outline.


Rather than use Elecrow this time, I opted for OSH Park as they offer ENIG (gold) finish as standard. The total cost (including shipping) for 3 boards was £1.50! Regardless of which fab house I’m using I tend to run the Eagle file through OSH Park’s PCB viewer just to double check everything.
For those interested in the turnaround time:
| Order submitted | January 2nd |
| Added to panel and sent to fab house | January 3rd |
| Received from fab house and dispatched to me | January 11th |
| Received by me | January 16th |
A pretty short process and it was particularly nice getting updates from OSH Park after each step.
Here’s a picture of the boards as they arrived. The jagged edges are where the PCBs are snapped out of the panel and came off with a light filing.

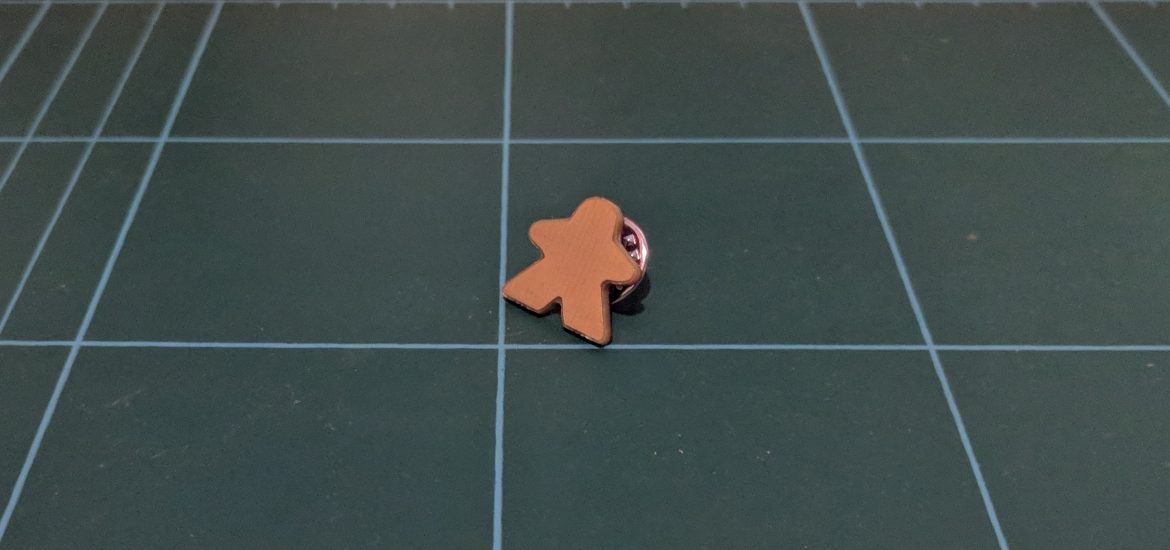
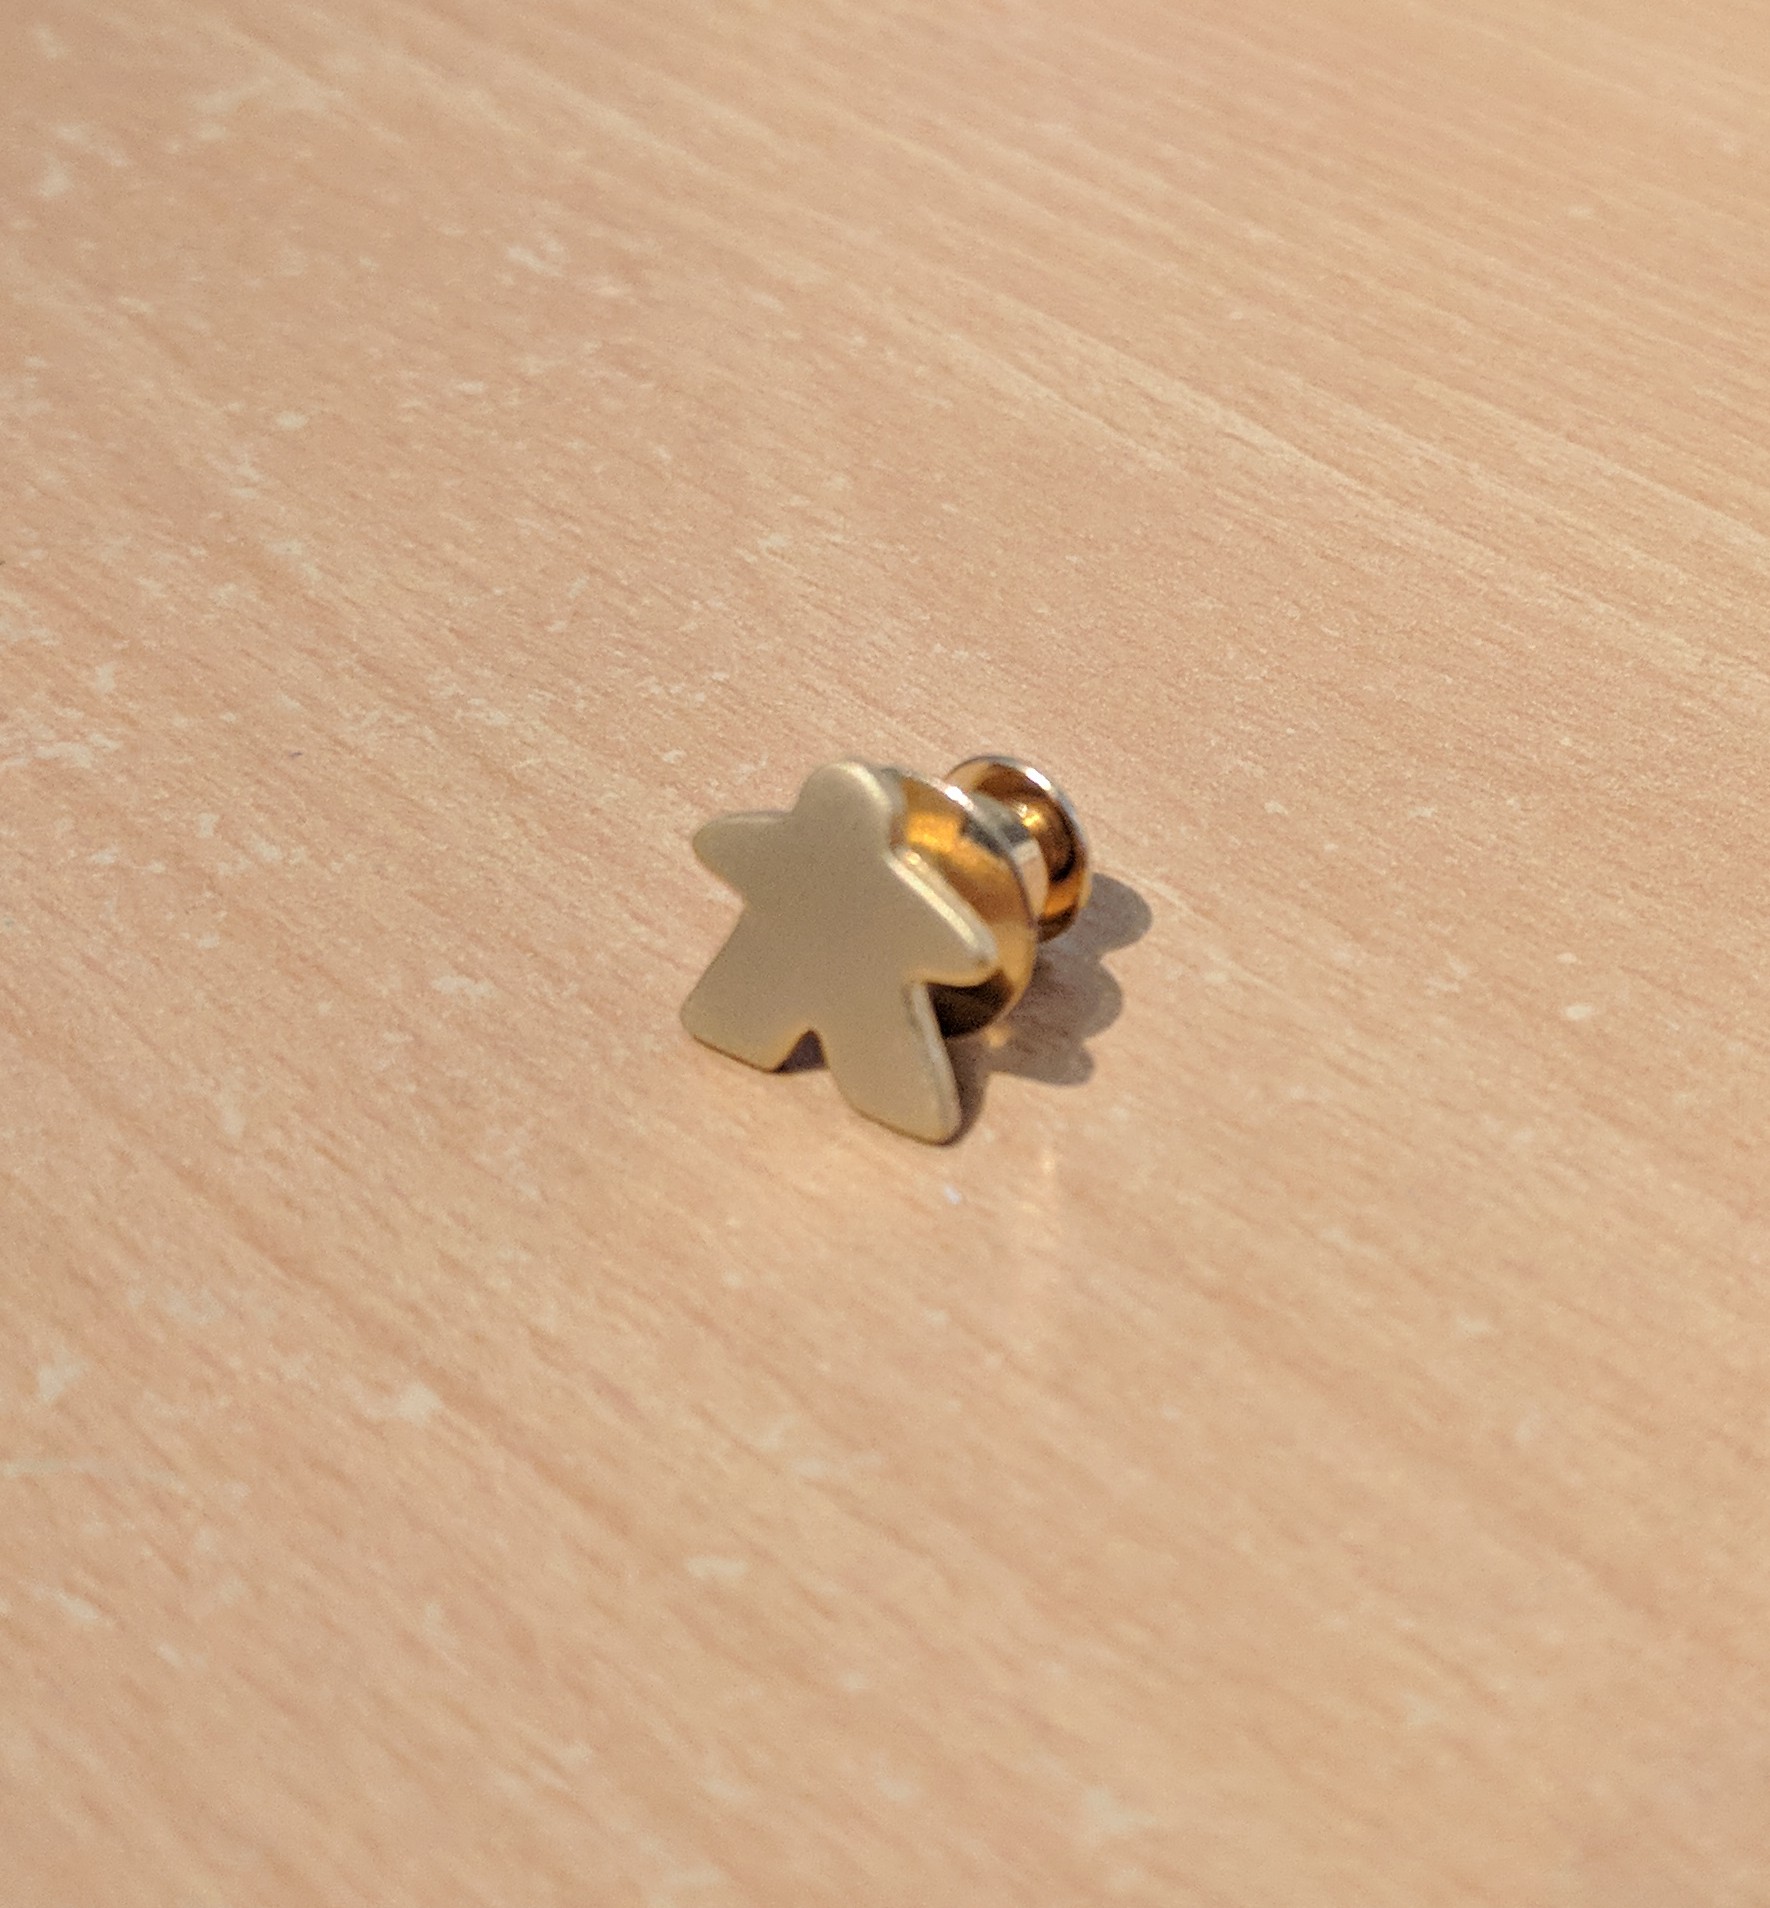
As you can see in the image above, the alignment of one of the boards wasn’t great and another got a bit scratched up in shipping, but I had one decent board to proceed with. As with my previous badges, a top coat of enamel spraypaint seals them from moisture and a pin was superglued to the back. I’m really pleased with how the badge turned out:

While the design process wasn’t entirely smooth sailing, I’m getting the hang of working with custom shapes in Eagle. I’m keen to try my hand at an LED badge next so watch this space!